-
 United Kingdom+44 (20) 4577-20-00
 -
 USA+1 (929) 431-18-18
 -
 Israel+972 (55) 507-70-81
 -
 Brazil+55 (61) 3772-18-88
 -
 Canada+1 (416) 850-13-33
 -
 Czech Republic+420 (736) 353-668
 -
 Estonia+372 (53) 683-380
 -
 Greece+30 (800) 000-02-04
 -
 Ireland+353 (1) 699-43-88
 -
 Iceland+354 (53) 952-99
 -
 Lithuania+370 (700) 660-08
 -
 Netherlands+31 (970) 1027-77-87
 -
 Portugal+351 (800) 180-09-04
 -
 Romania+40 (376) 300-641
 -
 Sweden+46 (79) 008-11-99
 -
 Slovakia+421 (2) 333-004-23
 -
 Switzerland+41 (22) 508-77-76
 -
 Moldova+373 (699) 33-1-22
English
How to install WordPress on a VPS in a couple of clicks
- Main
- Knowledge base
- How to install WordPress on a VPS in a couple of clicks
In this guide we will tell you how to deploy WordPress on a virtual server from PQ.Hosting literally in a couple of clicks - with the help of a script that we prepared. Everything is as simple as possible, without complex terminals and “magic” - will suit even those who are just beginning to understand the server side of sites. Important: the script works only on servers with Ubuntu 22.04, Ubuntu 24.04, Debian 11 and Debian 12.
What you need to do
1. Go to billing on the PQ.Hosting website. After registration login and password are sent to your mail - use them to log in.
2. Go to “Goods/Services” → “Virtual Servers”. Select the server you need. If you haven't ordered one yet, that's okay! Next we will show you how to do it!
How to order a virtual server
2.1. Go to the main page of the site and scroll down a bit.
There is a list of available locations.
2.2 Choose where your server will be located. Moscow, Frankfurt, Singapore, Kishinev - see what is closer to your clients.
2.3. Find a suitable VPS tariff.
2.4. Specify the lease term, customize the settings and click “Order”.
2.5. Pay for the order. After that you will get access to server management.
Back to installation
3. Log in to the server control panel. There will be an item “Virtual Machines” - open it.
4. Click on the button with the three dots and select “Run Script”.
5. In the search, type WordPress. You will see a script with a CMS installation ready - choose it.
6. Run the installation. Click “Run Script” and monitor the process in the “Status” section.
7. Once the installation is complete, you will receive login credentials in the mail. The email will contain the login credentials for the admin area.
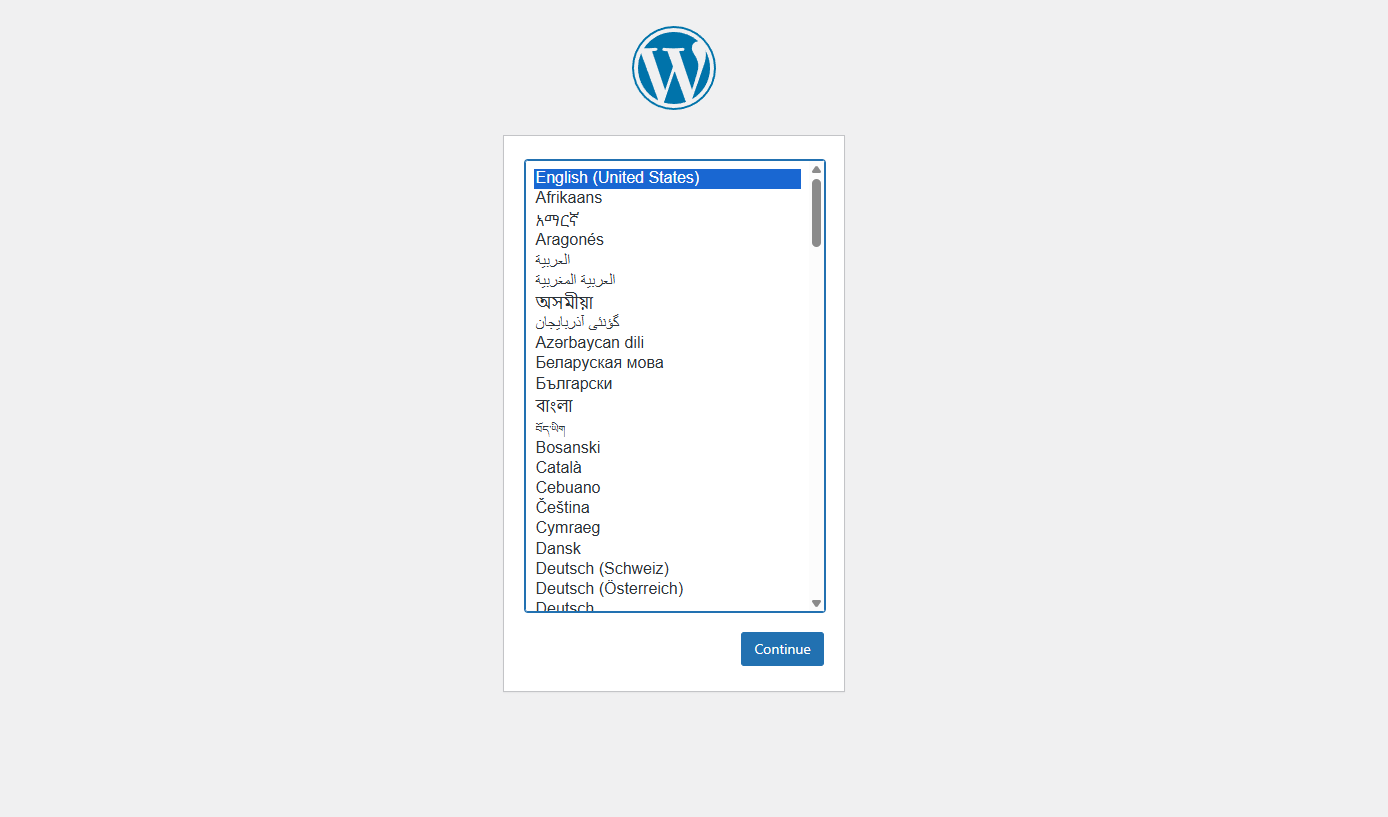
That's it. You have a ready-made website on WordPress. Then you can choose the language, theme, put the necessary plugins and start publishing content.
Other articles of the section


")


