-
United Kingdom+44 (20) 4577-20-00
-
USA+1 (929) 431-18-18
-
Israel+972 (55) 507-70-81
-
Brazil+55 (61) 3772-18-88
-
Canada+1 (416) 850-13-33
-
Czech Republic+420 (736) 353-668
-
Estonia+372 (53) 683-380
-
Greece+30 (800) 000-02-04
-
Ireland+353 (1) 699-43-88
-
Iceland+354 (53) 952-99
-
Lithuania+370 (700) 660-08
-
Netherlands+31 (970) 1027-77-87
-
Portugal+351 (800) 180-09-04
-
Romania+40 (376) 300-641
-
Sweden+46 (79) 008-11-99
-
Slovakia+421 (2) 333-004-23
-
Switzerland+41 (22) 508-77-76
-
Moldova+373 (699) 33-1-22
 English
Installing and configuring Guake in Linux Mint
- Main
- Knowledge base
- Installing and configuring Guake in Linux Mint
Guake is a terminal emulator for Linux that is inspired by the concept of a "drop-down terminal". You can read more about the terminal emulator in this article. Here we will also tell you how to install it, as well as do some basic configuration.

Installation process
Installing Guake in Linux Mint is quite simple. It can be divided into several simple steps. Let's go.
Go to the terminal
You can open the terminal by pressing Ctrl + Alt + T or by finding it in the applications menu. Update the package lists. It is recommended to update the package lists before installing.
Install Guake
After updating the package lists, enter the following command to install Guake:
sudo apt install guakeRun Guake
Once the installation is complete, you can launch Guake by typing in the terminal:
guakeOr find it in the applications menu. Add Guake to your autorun (optional)
How to set up autorun
If you want Guake to start automatically when you log in, you can add it to your autorun:
- open "Settings" (or "System Settings")
- go to the "Startup Applications" section.
- click "Add" (or "Add") and specify a name (e.g. "Guake") and a command (guake).
Guake is now installed and ready to use. You can open it by pressing F12 (the default) and customize it as you wish.
Terminal emulator customization option
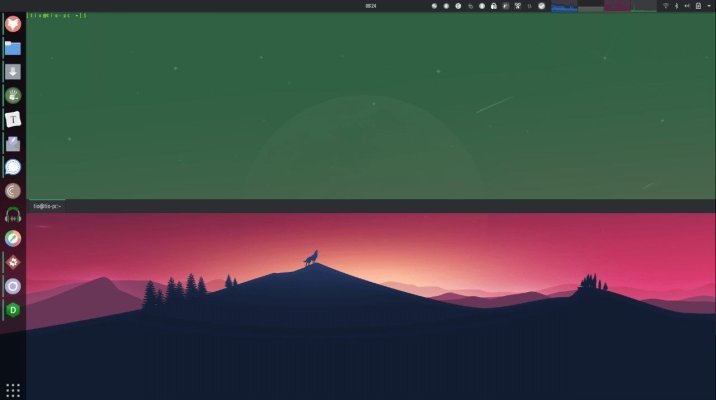
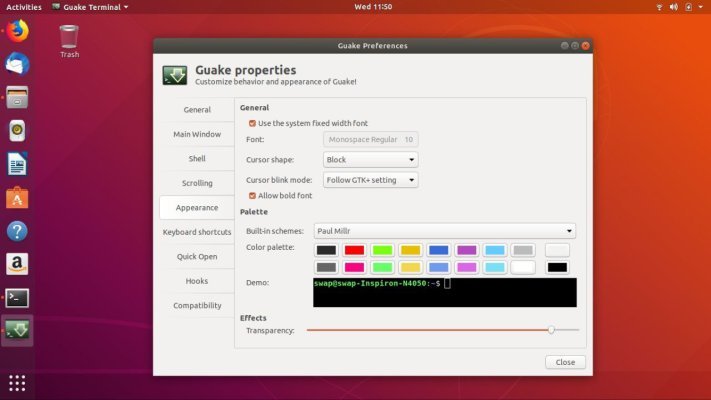
In the main menu find Guake Settings and run it. Next, the settings window will open. An icon will appear in the system tray and a message will appear saying that the F12 key (by default) is used to call the Guake terminal window. The program is running in the background and is waiting to be called by the user. Press F12. By default, the terminal looks like this.

Possible Guake terminal settings:
- Disable the pop-up notification at startup.
- Disable the system tray icon.
- Enable autorun on system startup.
- Disable Guake from displaying on top of all windows.
- Disable display of tabs when only one tab is open.
- Customize the window geometry, making it more elongated and slightly narrower.
You can customize the terminal emulator at your own discretion. The main thing is to make it comfortable for you to work with it.


