-
Russia8 (800) 707-83-77
-
United Kingdom+44 (20) 4577-20-00
-
USA+1 (929) 431-18-18
-
Israel+972 (55) 507-70-81
-
Brazil+55 (61) 3772-18-88
-
Canada+1 (416) 850-13-33
-
Czech Republic+420 (736) 353-668
-
Estonia+372 (53) 683-380
-
Greece+30 (800) 000-02-04
-
Ireland+353 (1) 699-43-88
-
Iceland+354 (53) 952-99
-
Lithuania+370 (700) 660-08
-
Netherlands+31 (970) 1027-77-87
-
Portugal+351 (800) 180-09-04
-
Romania+40 (376) 300-641
-
Sweden+46 (79) 008-11-99
-
Slovakia+421 (2) 333-004-23
-
Switzerland+41 (22) 508-77-76
-
Moldova+373 (699) 33-1-22
 English
How to install certificates in Google Chrome
- Main
- Knowledge base
- How to install certificates in Google Chrome
Continuing the topic of installing certificates in the Ubuntu operating system, it is worth considering the procedure for installing them in Google Chrome. Here are the detailed instructions on how to add them.
How to add certificates to Google Chrome
If you decide to add a certificate to Google Chrome or Chromium in the GUI, open the settings from the main menu.
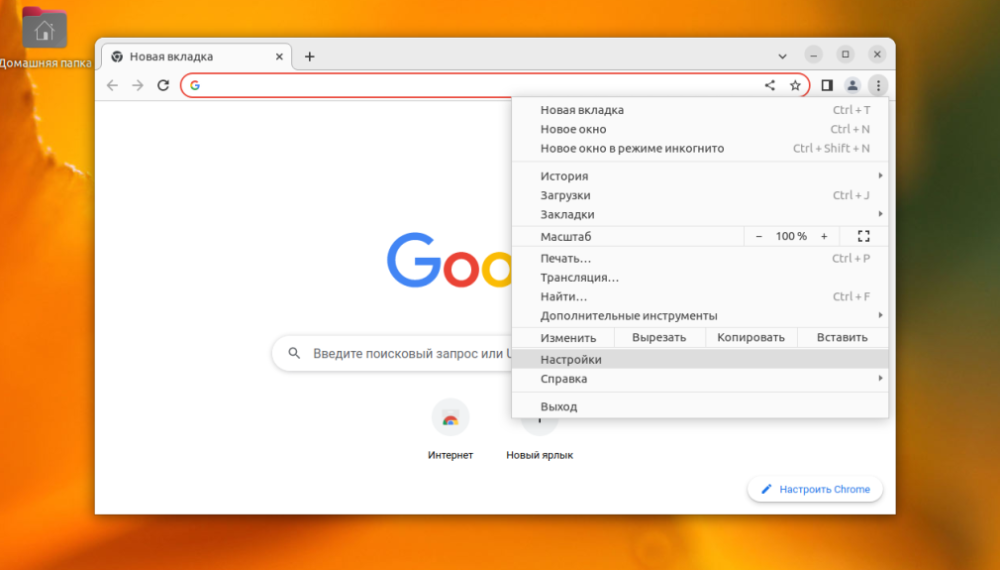
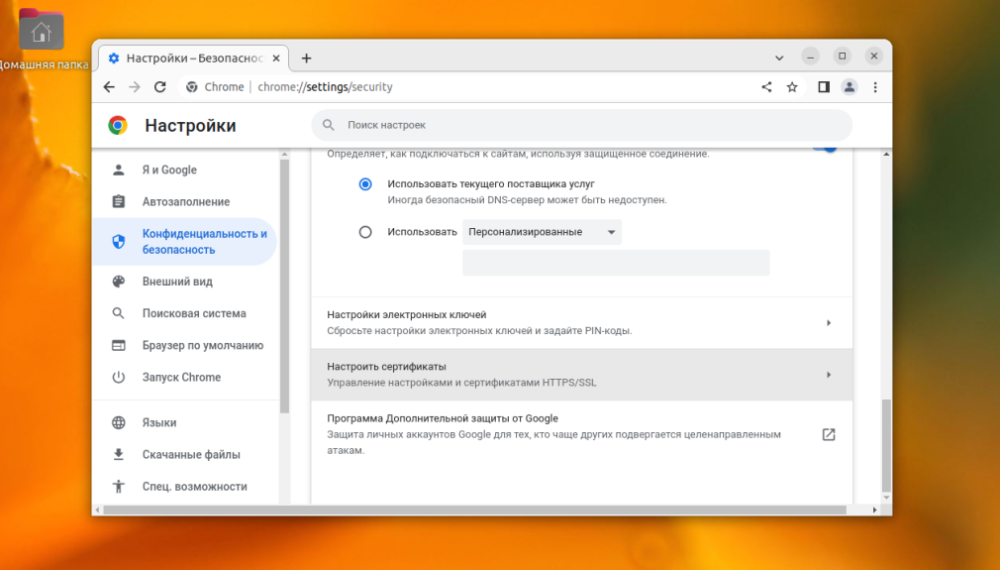
After that you need to open Privacy and Security -> Security -> Configure Certificates.

Next, go to "Certificate Authority".
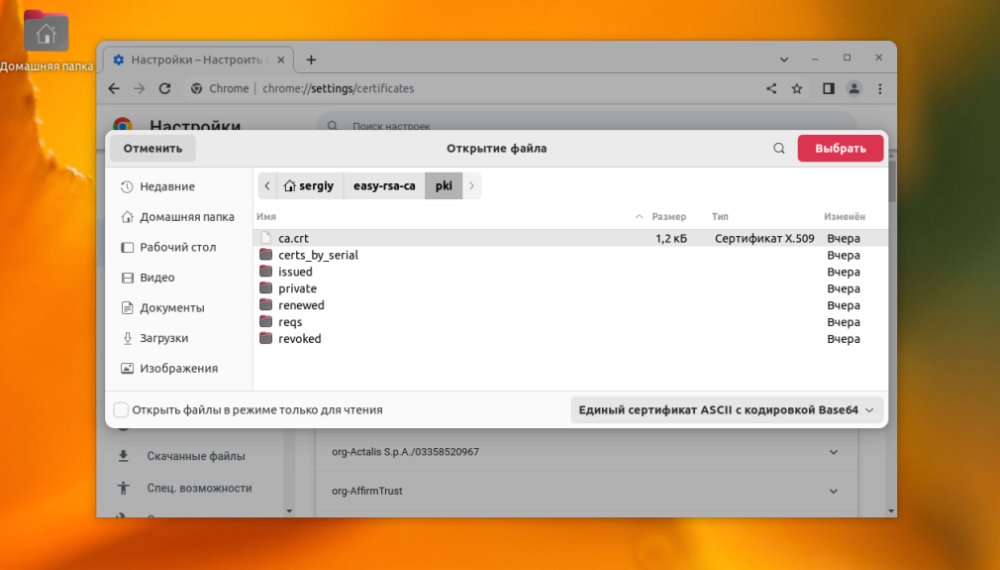
Now you need to click the "Import" button and select the root certificate file.
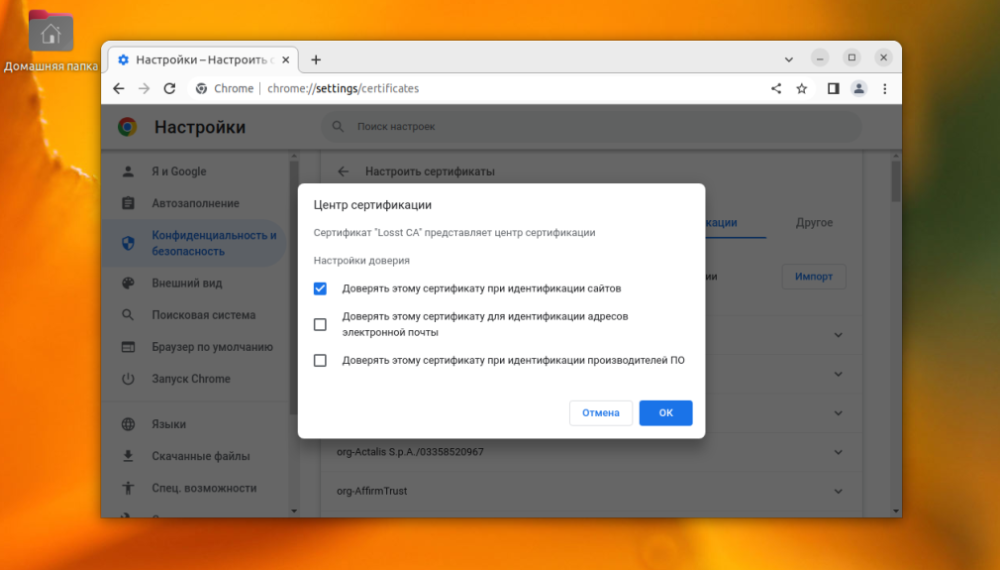
At this stage you need to configure the trust settings. The certificate will be used to authenticate sites, then you can leave only the first item.

Once the certificate is added, you will no longer see information that the connection is not secure.
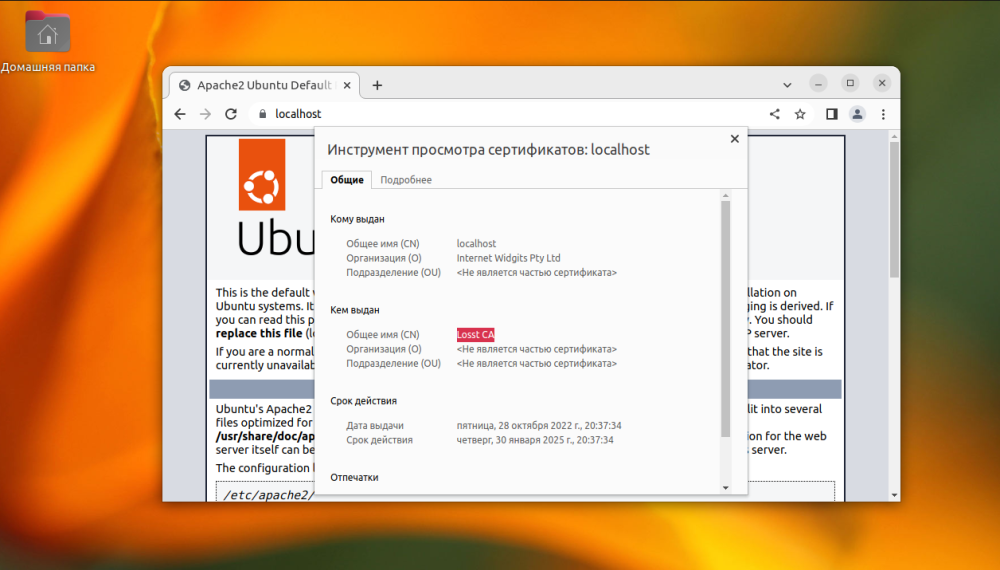
After that, you need to use the libnss3-tools package to work with certificates. You can install it by executing:
sudo apt install libnss3-toolsThe Google Chrome certificate database is located in the ~/.pki/nssdb folder. You can view the available certificates with the command:
certutil -d ~/.pki/nssdb -LThe command syntax for adding a certificate is as follows:
$ certutil -d путь/к/базе/данных -A -t "настройки_доверия" -n "имя" -i "/путь/к/файлу"Pay attention to trust. There are three groups of trust attributes, namely for:
SSL;
Email;
Software and other objects.
Each of the groups may contain attributes such as:
p - valid peer;
P - trusted peer;
c - valid certificate authority;
C - trusted certificate authority;
T - trusted certificate authority for client authorization.
For SSL certificates, the sequence "TC,,," will suffice. T and C attributes for SSL and nothing for anything else. The entire command to import ca.crt will look like this:
certutil -d sql:~/.pki/nssdb -A -t "TC,," -n "Losst CA" -i ./ca.crtAfter that you can look at the list of certificates again to make sure everything is good:
certutil -d sql:~/.pki/nssdb -L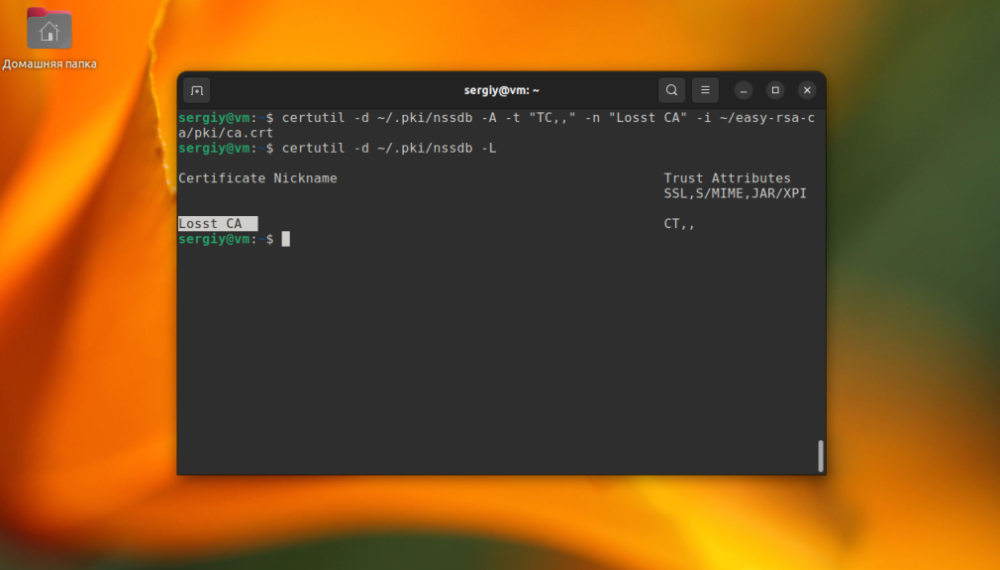
This completes the instructions.


