-
 United Kingdom+44 (20) 4577-20-00
 -
 USA+1 (929) 431-18-18
 -
 Israel+972 (55) 507-70-81
 -
 Brazil+55 (61) 3772-18-88
 -
 Canada+1 (416) 850-13-33
 -
 Czech Republic+420 (736) 353-668
 -
 Estonia+372 (53) 683-380
 -
 Greece+30 (800) 000-02-04
 -
 Ireland+353 (1) 699-43-88
 -
 Iceland+354 (53) 952-99
 -
 Lithuania+370 (700) 660-08
 -
 Netherlands+31 (970) 1027-77-87
 -
 Portugal+351 (800) 180-09-04
 -
 Romania+40 (376) 300-641
 -
 Sweden+46 (79) 008-11-99
 -
 Slovakia+421 (2) 333-004-23
 -
 Switzerland+41 (22) 508-77-76
 -
 Moldova+373 (699) 33-1-22
English
Ordering and initial setup of RouterOS CHR
- Main
- Knowledge base
- Ordering and initial setup of RouterOS CHR
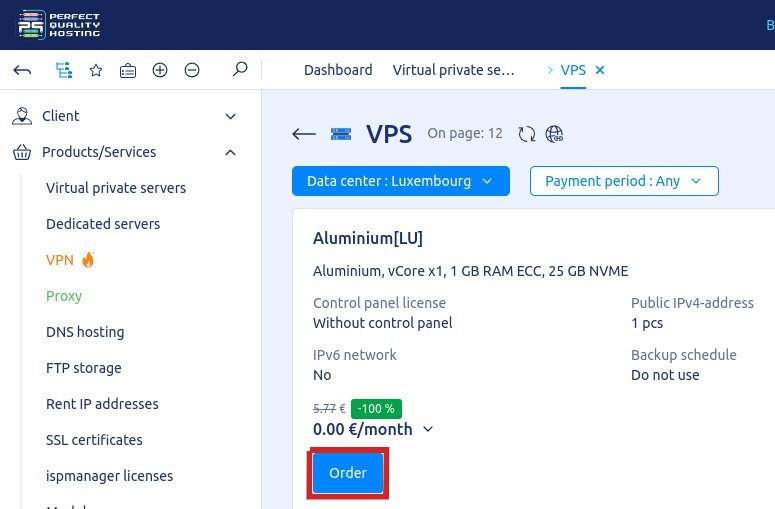
To order RouterOS CHR, you need to select the appropriate OS when choosing the operating system in the billing:

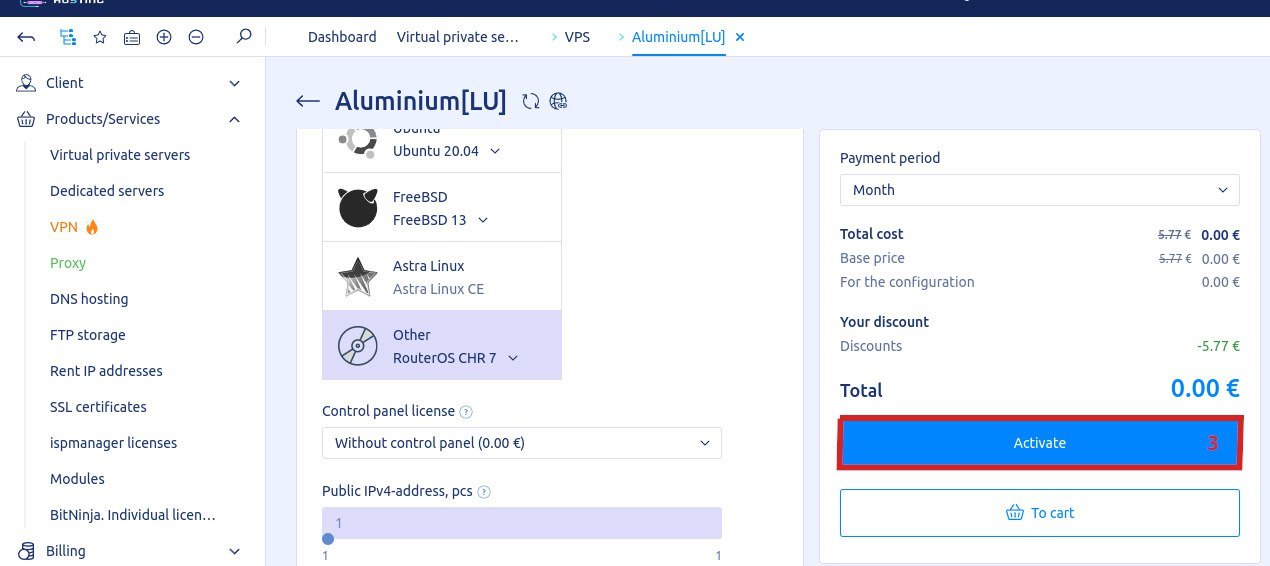
Then wait for the VPS activation. You will receive an email or notification in the billing panel. As soon as you receive the notifications, go to the billing section “Virtual Dedicated servers“, select a new server and click "Go".

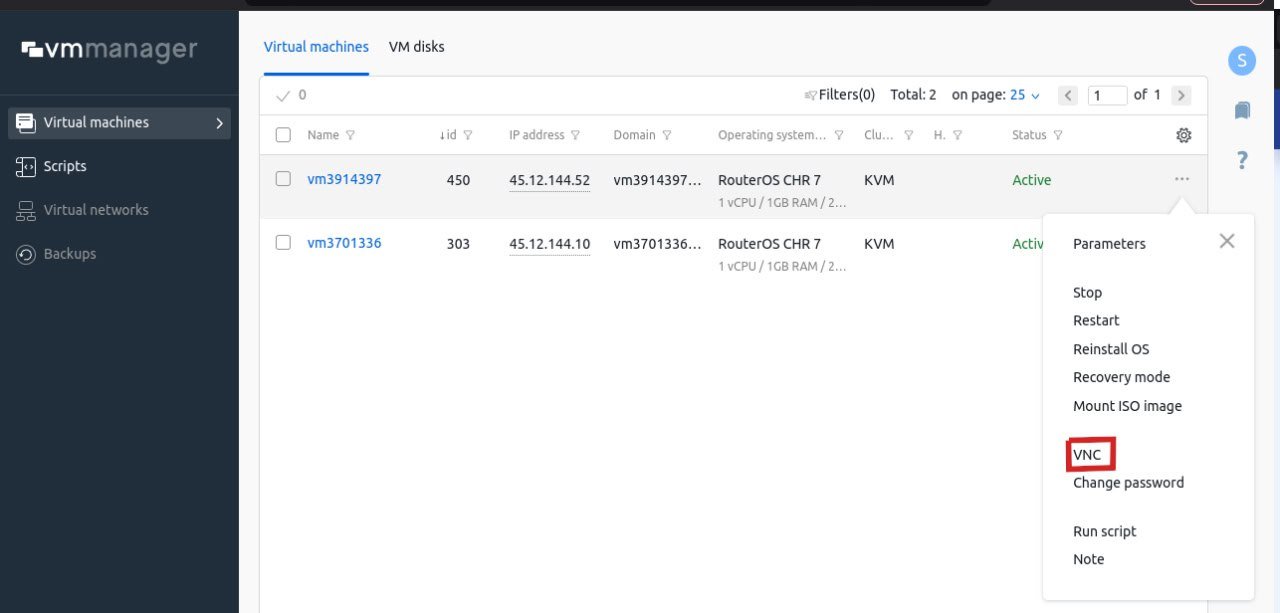
In the new vmmanager window, open the server operations menu and select VNC.

Next, the VNC Viewer will open.
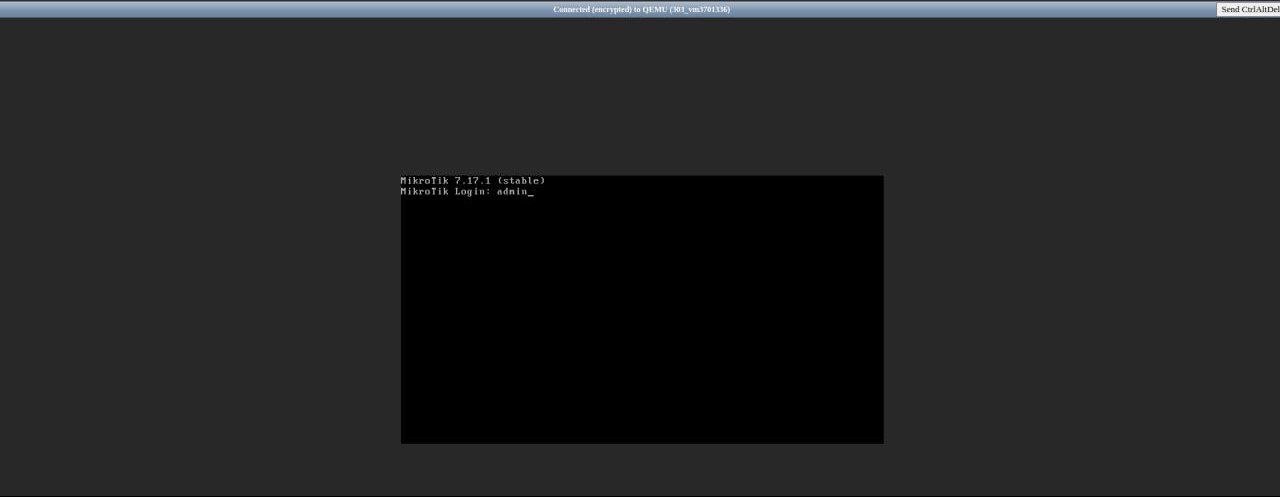
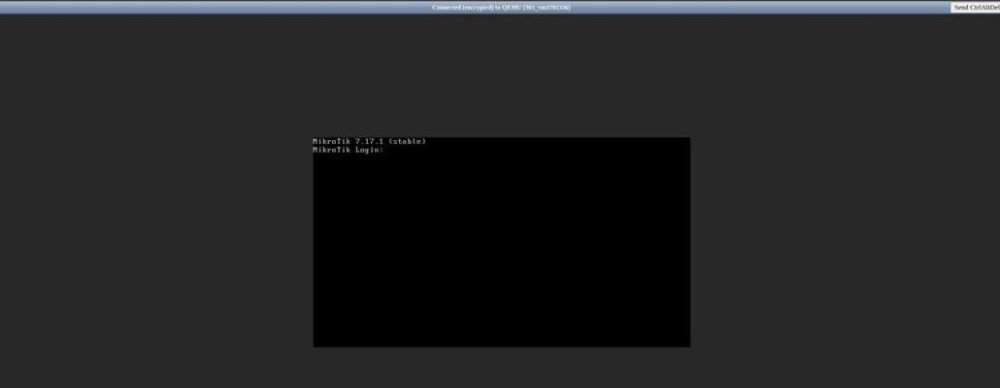 Enter the login admin, and press enter instead of the password. When ordering/reinstalling RouterOS CHR, it is installed "as is" in the system - without a specified user password and with non-configured interfaces.
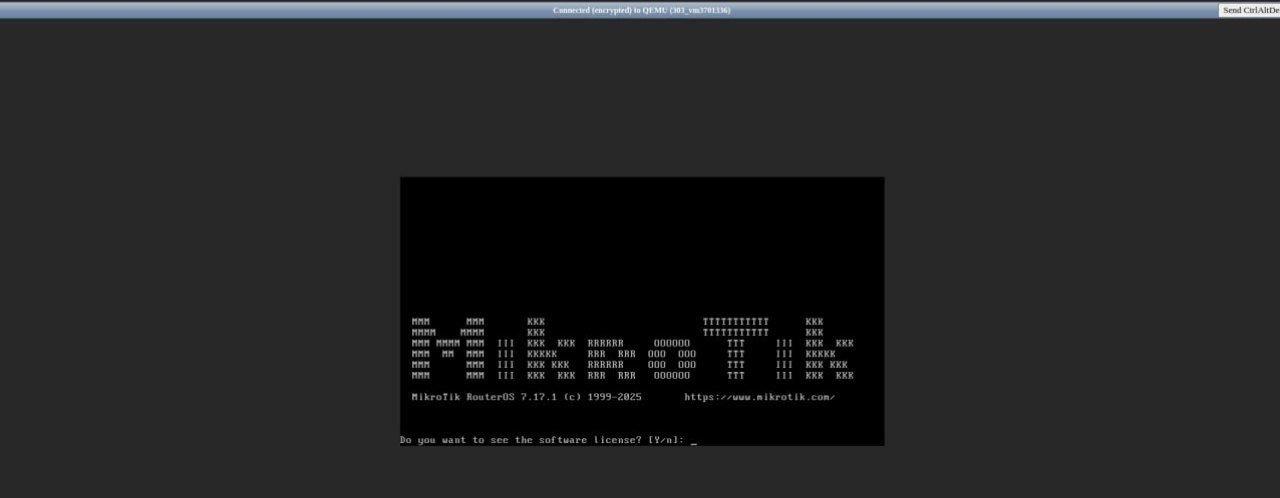
You will be asked to review the license. You can skip browsing and enter n.
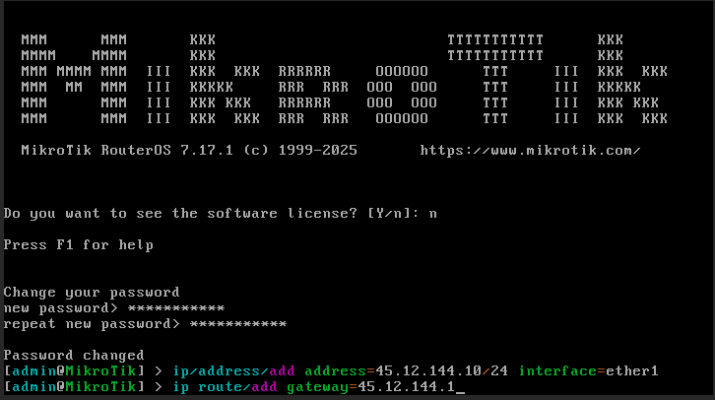
Set a new password. Given the constant brute force attacks, we recommend a complex and secure password.

It's time to set up the network interface. Your VPS has been allocated an IP address: the gateway to this address will be the first address of the subnet /24. In this case, for the address 45.12.144.10 it will be 45.12.144.1, we specify the IP and gateway,
Checking it out.
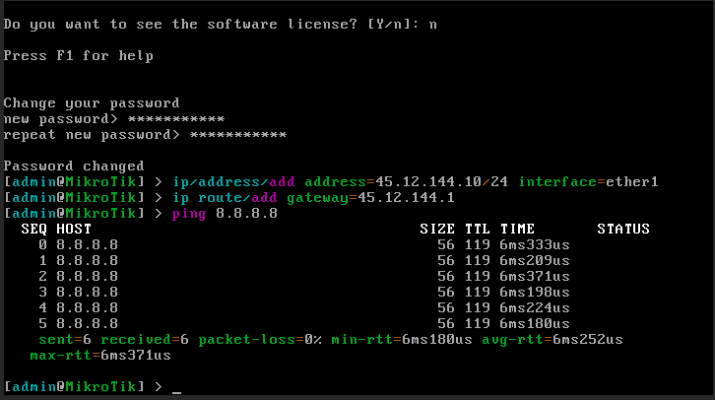
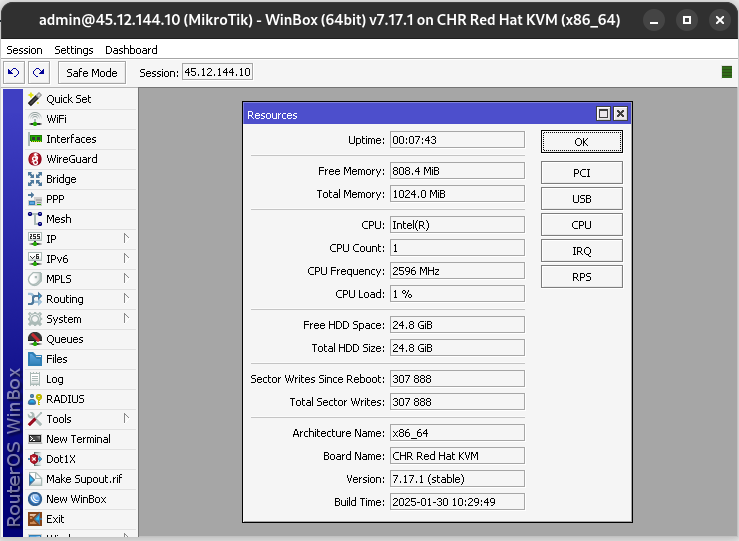
The initial setup has been completed. Now you can log in through winbox and configure RouterOS CHR to suit your needs.
Other articles of the section


