-
United Kingdom+44 (20) 4577-20-00
-
USA+1 (929) 431-18-18
-
Israel+972 (55) 507-70-81
-
Brazil+55 (61) 3772-18-88
-
Canada+1 (416) 850-13-33
-
Czech Republic+420 (736) 353-668
-
Estonia+372 (53) 683-380
-
Greece+30 (800) 000-02-04
-
Ireland+353 (1) 699-43-88
-
Iceland+354 (53) 952-99
-
Lithuania+370 (700) 660-08
-
Netherlands+31 (970) 1027-77-87
-
Portugal+351 (800) 180-09-04
-
Romania+40 (376) 300-641
-
Sweden+46 (79) 008-11-99
-
Slovakia+421 (2) 333-004-23
-
Switzerland+41 (22) 508-77-76
-
Moldova+373 (699) 33-1-22
 English
How to create an Ngrok Tunnel
- Main
- Knowledge base
- How to create an Ngrok Tunnel
We've already talked a lot about Ngrok, now it's time to share instructions on how to create a tunnel. This is an important feature that you may need while working with the software, which will make your life much easier. Let's go through how it can be done.
How to create a tunnel
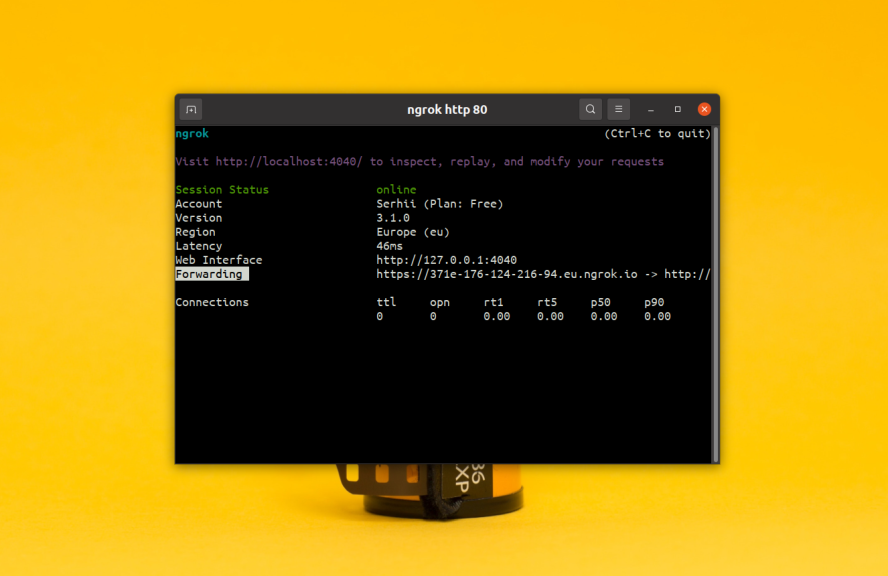
To create a local HTTP port from the outside, use the http command. To do this, simply specify the port as a parameter, for example for port 80:
$ ngrok http 80
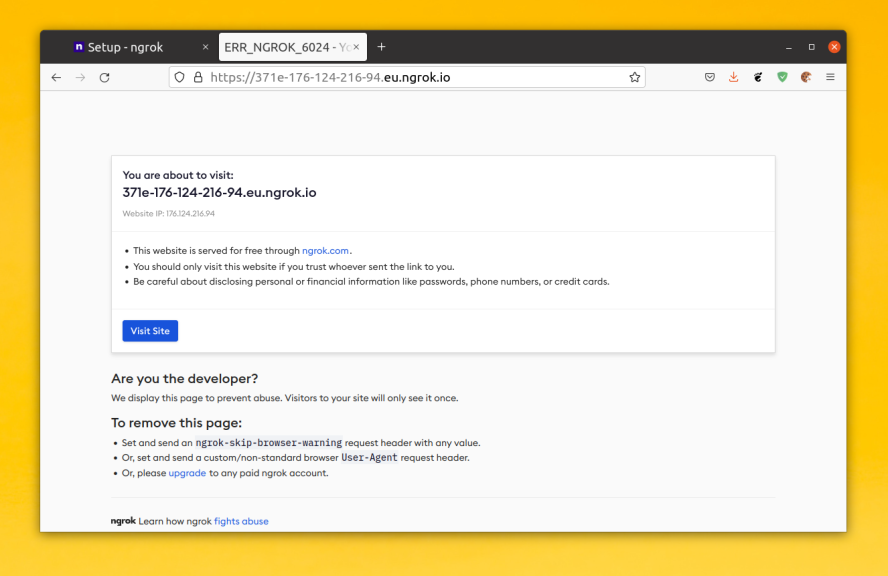
As soon as the tunnel starts its work in the terminal will appear information about its status. In the Forwarding field it will not be difficult to find the URL, It is this URL that you will be able to access the service. During the first launch Ngrok will warn you that this resource is accessible via Ngrok.
All you have to do is click Visit Site:

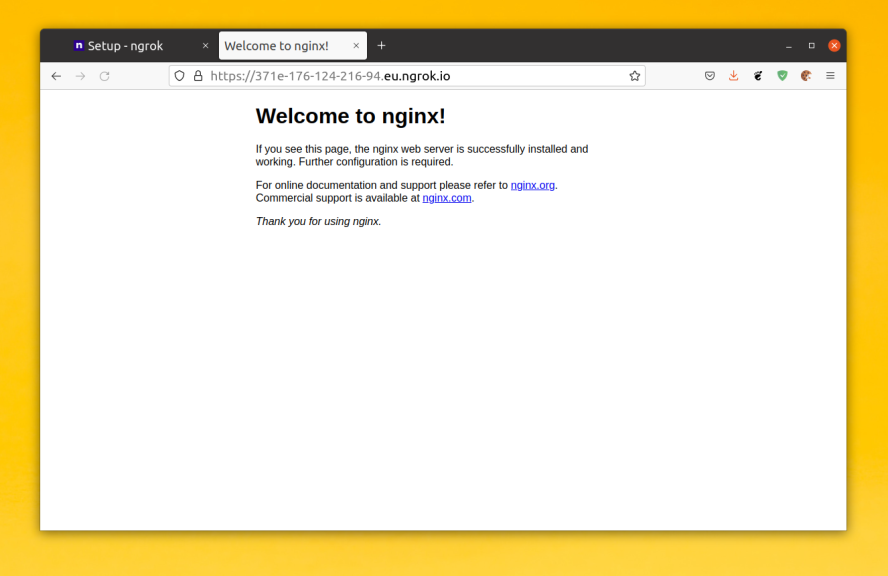
Next, the server and the content of the site will become available:

HTTP authorization should be added to allow other users to access the site. There is the following option that allows you to do this --basic-auth:
ngrok http --basic-auth="user:password" 80You will then need to enter a password to access the site. If you need to specify Host for your local site, this can be done with the --host-header option. For example, to change the domain to example.local, use this command:
ngrok http --host-header="example.local" 80By default, the service will be accessible externally via HTTPS. If you want it to be accessible only via HTTP use the --scheme option. For example:
ngrok http --scheme="http" 80If you want to make the port available on another machine, specify its IP address along with the port. For example, for 192.168.1.143:
ngrok http 192.168.1.143:80We figured out how to create a tunnel, now you know even more about Ngrok!


